
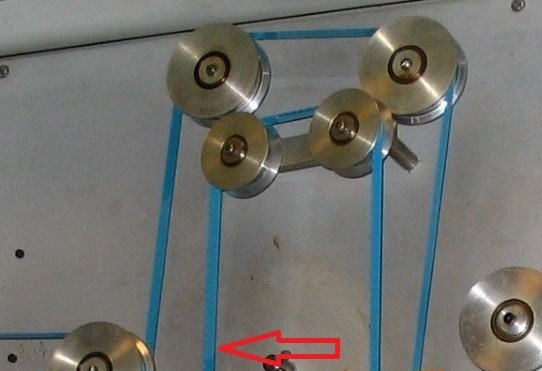

This first image shows the view of the applicator from the side. One third of this is lowered into the slurry reservoir and is spinning anti-clockwise. It was 5 centimeters wide and had 4 raised ridges which will be covered in the slurry. Then a comb passes over the applicator and removes the slurry from its surface except for a minute sheen over the very tops of the ridges.
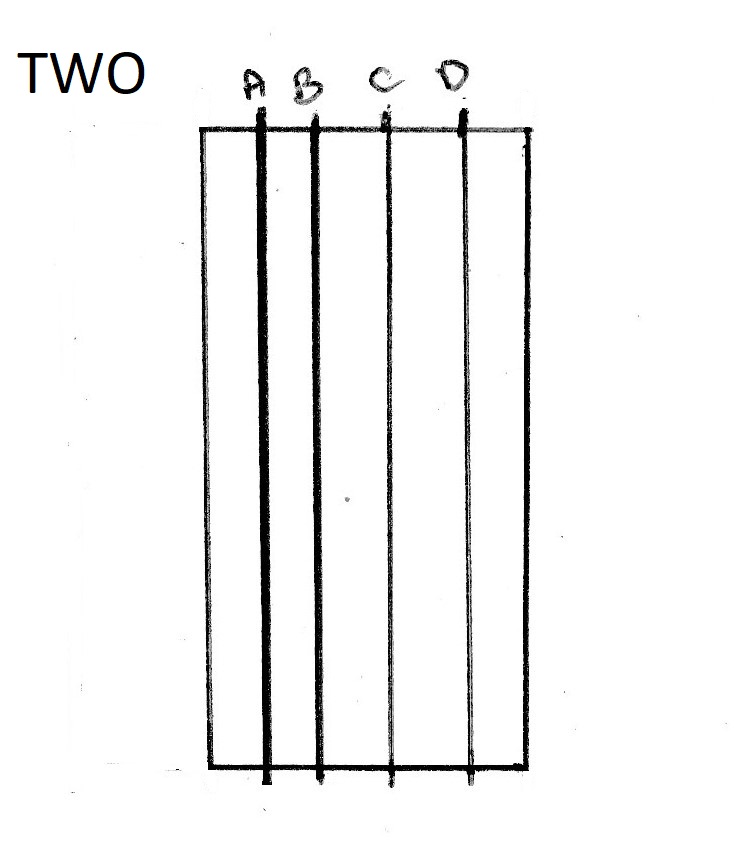
The second image (sorry about my dreadful drawing skills) shows the applicator from the front with ridges A & B are slightly thicker and as the film passes over the applicator for the first time it creates the main stripe on both super 8 images. The film then goes up over around a few guides (giving the freshly applied magnetic slurry time to dry a little) and then finds its way back to the applicator to pass over the ridges C & D (which are thinner that A & B) and they apply the balance stripes. The film then goes through a dryer.
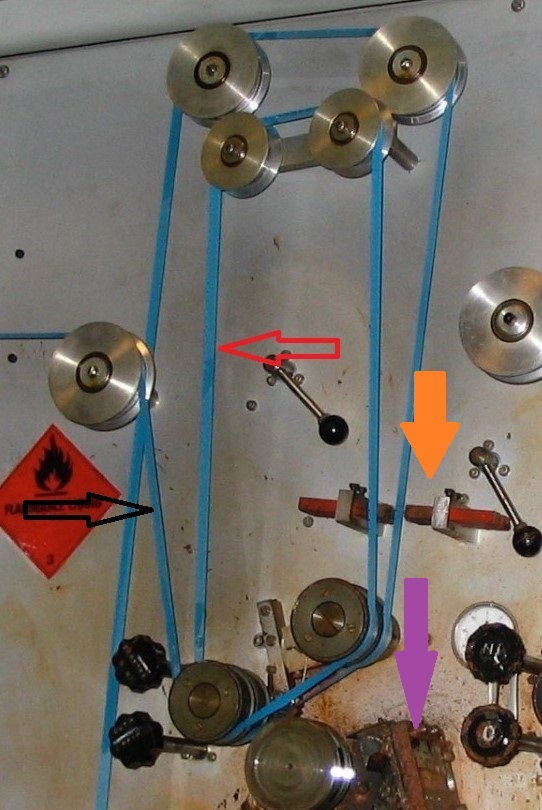
The black arrow is the film that will pass over ridges A & B. You can see the path the film will take if you follow the blue leader in the photo below, The red arrow shows the same film arriving back at the applicator to receive the balance stripe from ridges C & D. The purple arrow is pointing at the comb. The orange arrow indicates the two magnets that made sure all was correct with the mag stripe.
The machine was always completely laced with either scrap 16mm or leader. It would have taken far too long to have prepared the machine for use otherwise.
Here’s a short film that includes the machine in action produced in 2007
Leave a Reply